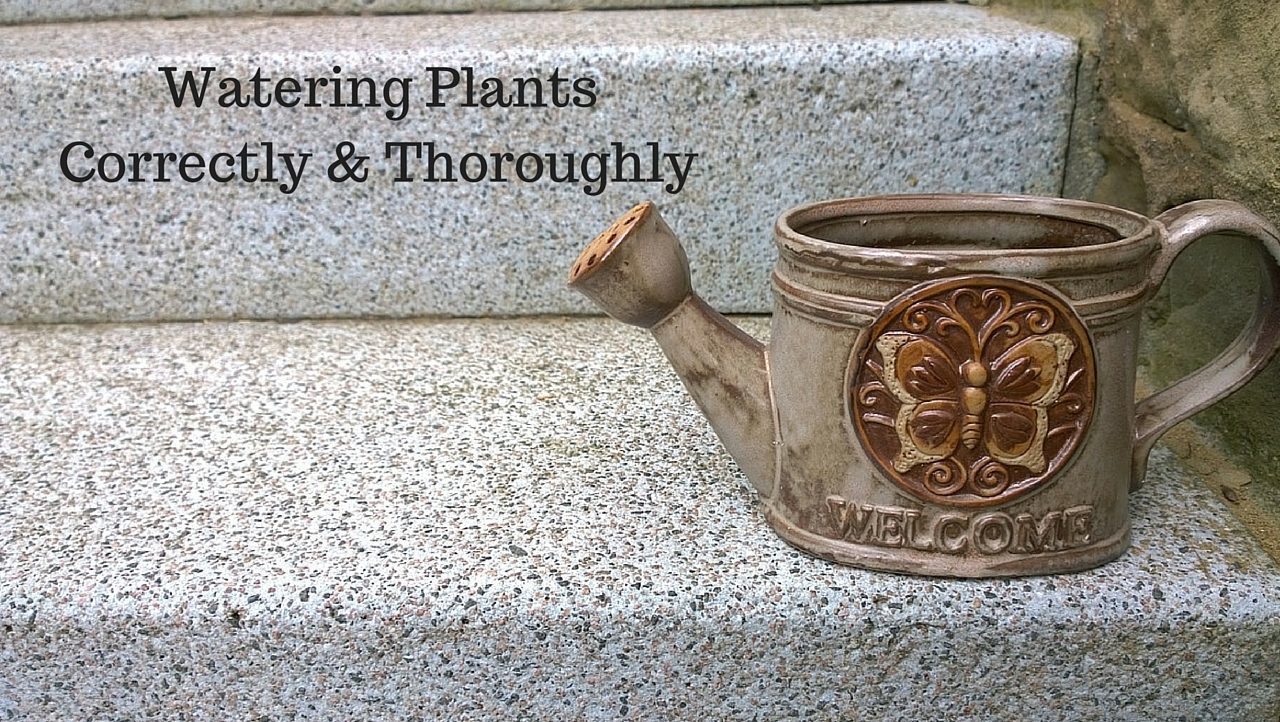
How To Make A Safe Homemade Insecticide

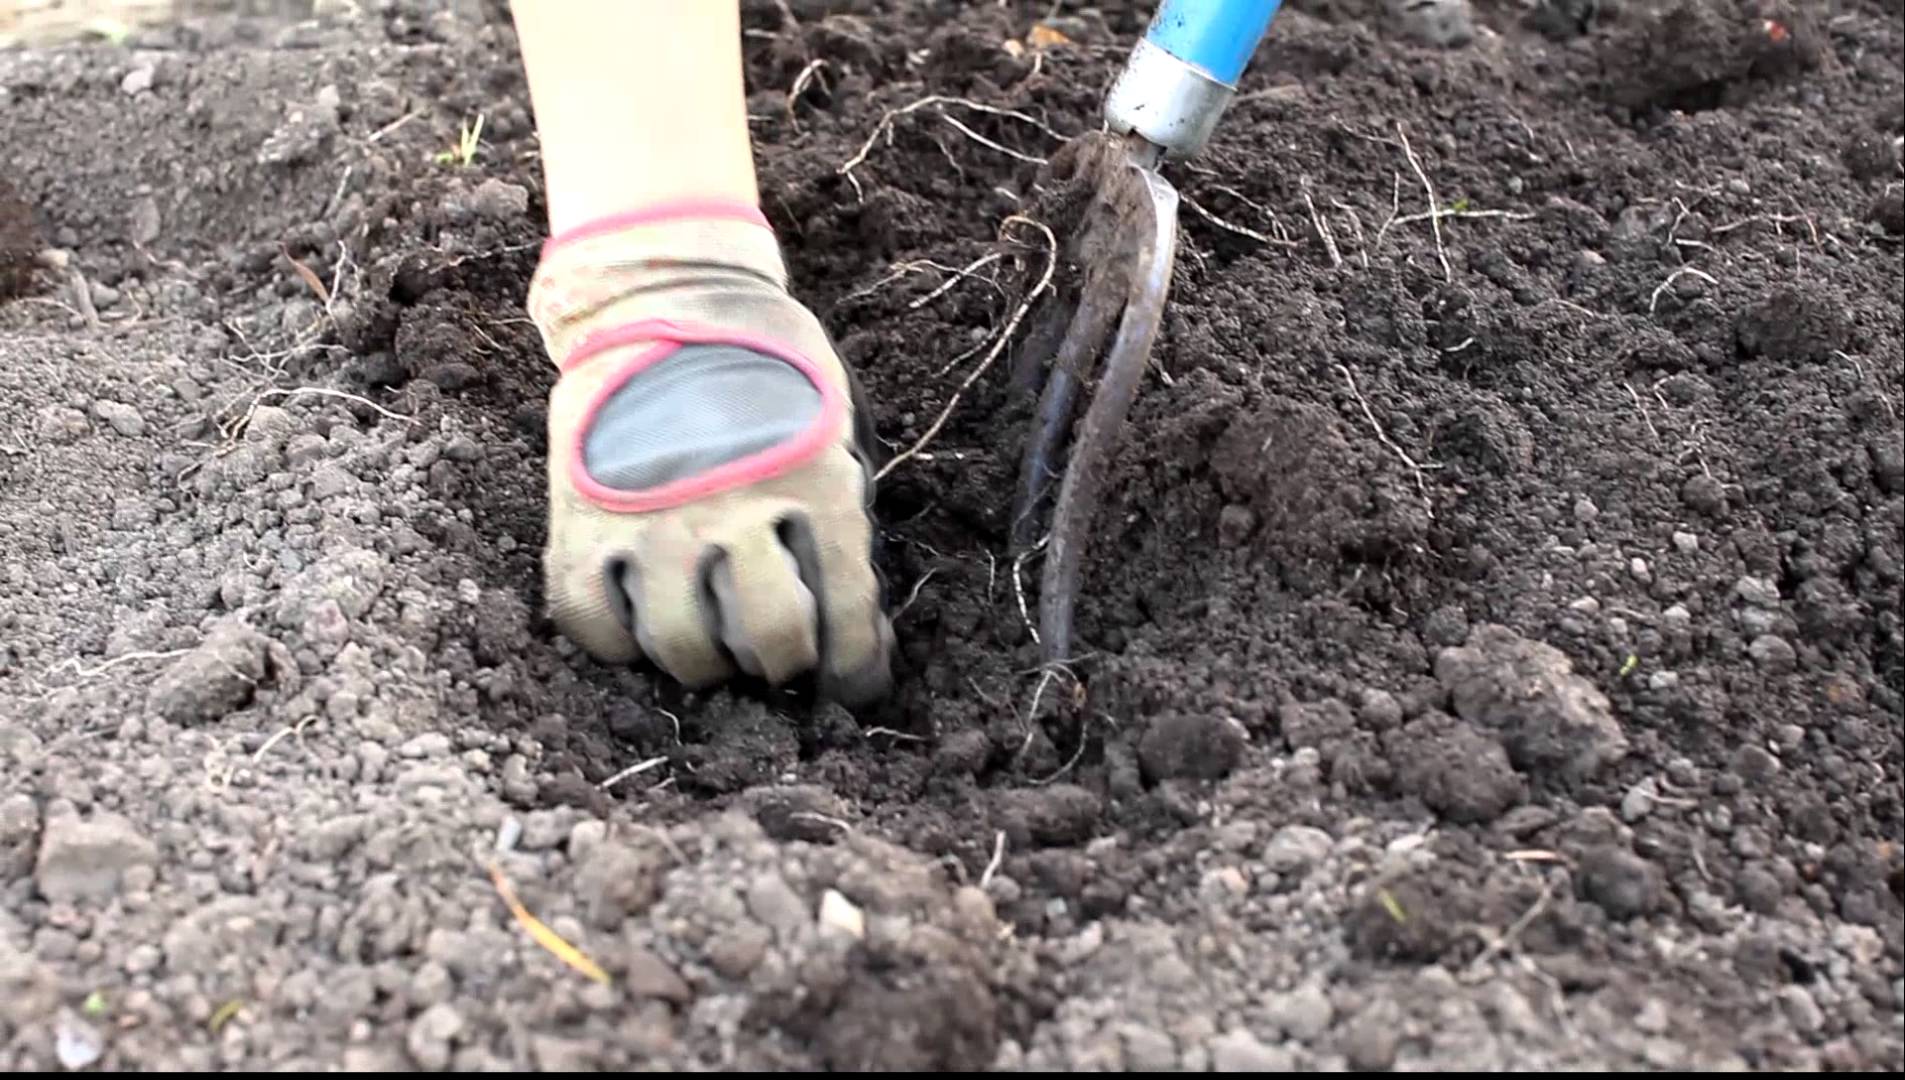
It’s spring time, and that means it’s time to start thinking about the overall health and safety of your plants and shrubs. One of the biggest challenges to maintaining lively looking plants, bushes and shrubs involves controlling harmful bugs and insects. It’s an especially painstaking process when you are trying to do it without using harmful sprays and insecticides. Well, no worries friends, there is a solution. Today, we’re showing you how to make a your own homemade insecticide that is both non-toxic and safe. It also works great for keeping the insects away and the landscaping bills down.

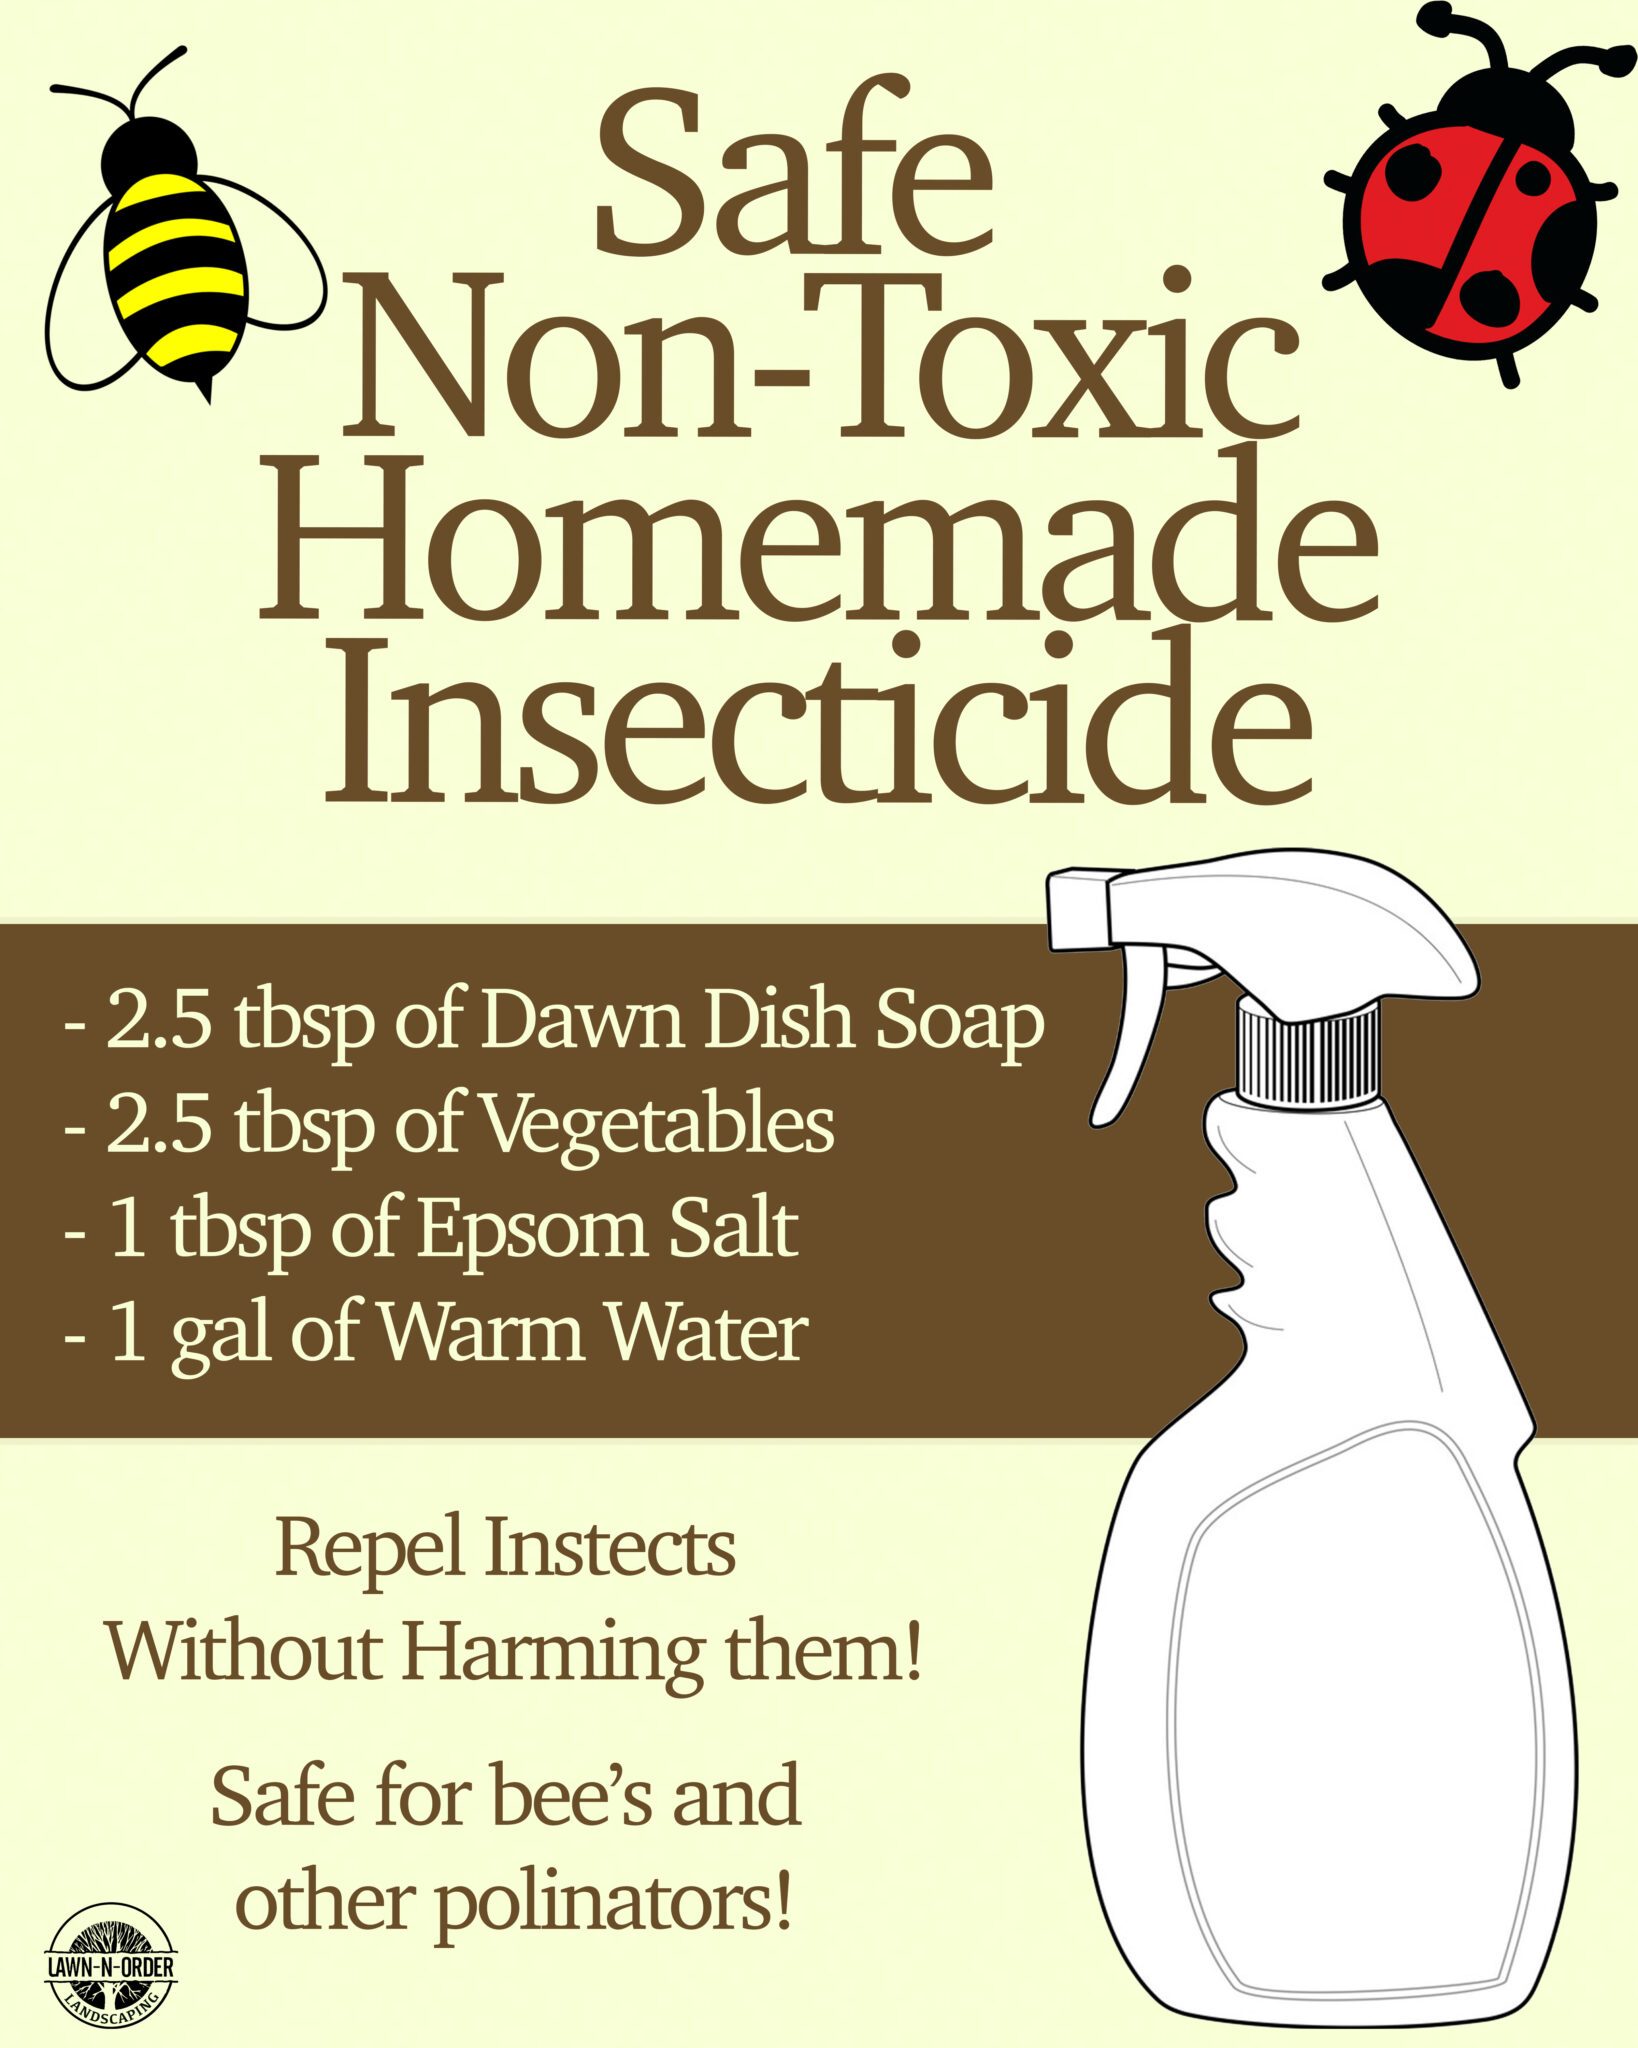
The recipe for making this is extremely cost effective and easy to follow. By using a combination of common household items, you can create a powerful safe homemade insecticide. Simply combine Dawn dish soap, water, vegetable oil, and epsom salt to concoct an environmentally friendly, insect repellent and mineral rich spray. Also, the good news is you will not be harming helpful insects such as bees and other pollinating insects, but you will simply be repelling them as opposed to killing them. Combine all of the ingredients listed on our chart in an empty spray bottle. Make sure you’re using a spray bottle that you can easily use adjust to create a mist spray as to not damage the leaves and stems of your plants. Don’t worry about the order in which you combine the ingredients, but you might want to add your water first to avoid heavy bubbles from the Dawn dish soap.

Once you have finished combining your ingredients, you’re ready to rid your valued plants, flowers and shrubs of those pesky chewing and destructive insects. Start by lightly spraying all of your plants, flowers and bushes around their leaves, stems and base with this homemade insecticide. Doing this one to two times per month will organically help keep harmful pests away.

Using this environmentally safe, inexpensive, homemade insecticide is incredibly effective in controlling unwanted plant, flower, and bush eating insects. You can apply this homemade insecticide to kill and control invasive insects including:

  • aphids
  • mites
  • scales
  • beetles

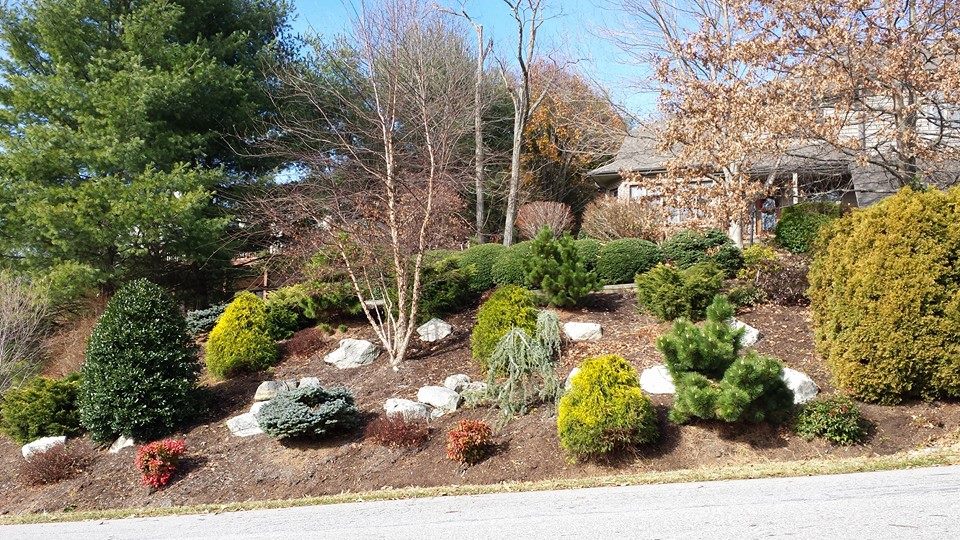
It’s likely that you have already spent enough money and time finding and hiring a landscaping company to build your mulch bed, plant your shrubs, and maintain your property’s plants and overall landscaping features. Prevent from having call your landscaper or plant expert, once again, to eradicate insects using harmful chemical filled insecticides by using our recipe for a simple and easy to make homemade insecticide.

Watering Grass Seed

Watering Plants Correctly & Thoroughly

watering-plants-landscaping ideas-Asheville

With hot weather comes our share of dry days and lack of rainfall. This can cause potential stress on your landscape and plantings. Supplemental watering will help the survival of your investment.  Take these notes on how to adequately water leaving all plants thoroughly satisfied.

Observe for Adequate Moistures

Make observations in the garden. Take a look at the leaves of the plants. Are they wilting? Are there brown leaves at the base of the plant? Scratch beneath the soil’s surface with a small trough to see if the soil beneath the surface is holding water or how dry it is. Dig several inches down to the root system to tell if there is any moisture. The soil should be moderately damp but not soupy wet. If there is moisture, skip watering. If not, get out the soaker hose and curl around the base of the plant or throughout the planting area. If a drip irrigation system is set up, the emitter can be added to adequately water at different gallons per hour.watering-plants-landscape ideas-Asheville

Watering for Penetration to Root Systems

If watering by hand or spot watering, first water until there is some runoff. Water each plant lightly using the rain dial on the handle instead of the hard pressure jet spray. A slow, steady stream is best to give a good drink to each plant. Water will slowly penetrate better instead of running off the surface of the mulch and away from the plant. After ten minutes of watering, brush away the mulch around the plant and dig down to see how much in inches the water has penetrated. This will give you a good understanding as to how long to continue watering. If setting up the sprinkler in the yard over a period, place a small bucket in the vicinity of the plant. Measure the amount of water obtained in the bucket and how long the sprinkler was running. Check the root system around the plant to see the depth of penetration and follow up accordingly.

Watch the weather forecast each week and observe the health of your plants by taking a daily walk through the garden. Any stress to the plant, whether it is drought, the wind or other conditions can make it susceptible to diseases. Enjoy your plantings for years with regular fertilizing and a water regiment.


Landscape Calendar—How to Keep the Garden Healthy and Blooming

Landscape Care After An Installation

Steep Slope Erosion Control Options

Steep slope erosion control can be a challenge and is a continual source of irritation to newcomers to the mountains of Western North Carolina. Welcome to gardening on steep slopes! The following are some ideas to make the chore not such a dilemma and easier to manage. While it might seem like a challenge, we’ll give some ideas on how to make the most of your hilly gardening venue, so you don’t ever want to move back to the flat land again.

Terracing for Steep Slope Erosion Control

Terracing can be an option to steep slope erosion control. Building retaining walls not only gives more room for gardening but also slows down the water to prevent runoff. The rainwater can be captured, and erosion is kept to a minimum or eliminated. Depending on the height of the slope and grade, will determine the use of terracing.

steep-slope-erosion-control-conifers-hillside gardening

Placing boulders in the bank as outcroppings can also add to erosion control and add native objects to the landscape.

If terracing isn’t an option or your grade is slighter than most, then other options come into play. Plant selection and certain mulches will retain the soil in place to prevent steep slope erosion. Placing boulders in the bank as outcroppings can also add to erosion control and add native objects to the landscape.

Plants for Steep Slope Erosion Control

Select plants for steep slope erosion control that are drought tolerant since the water will be draining off fairly quickly. This selection should include plants with deep root systems to hold in the soil and add to its drought tolerance. Select trees, small and medium shrubbery, grasses and perennials used will be good coverage to the steep slope turning it into a lush garden.

Mulches for Steep Slope Erosion Control

Mulches that hold together, are coarser and shredded will knit together better than solid chips. Double ground hardwood bark is a favorite since it is from maples and oaks. It is heavy; thus, it doesn’t blow or wash away as easy. It’s staying power is ideal for sloped beds and gardens. A depth of 2-3 inches is recommended to retain moisture and a top dressing for the beds and slopes. Pine straw can be used as well because the needles know together and don’t slide or move on a slope. Some would argue that it’s harder to blow out leaves in the fall so keep this in mind when selecting for erosion control.

If you need some advice on your steep slope, then call a professional to get the job done and keep your precious soil in place and not running out from under you!

Edible Gardening for the Faint at Heart

Garden Care TO-DO List!